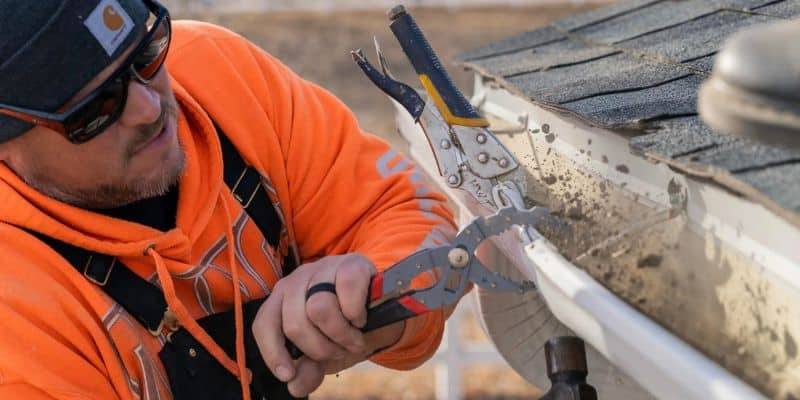
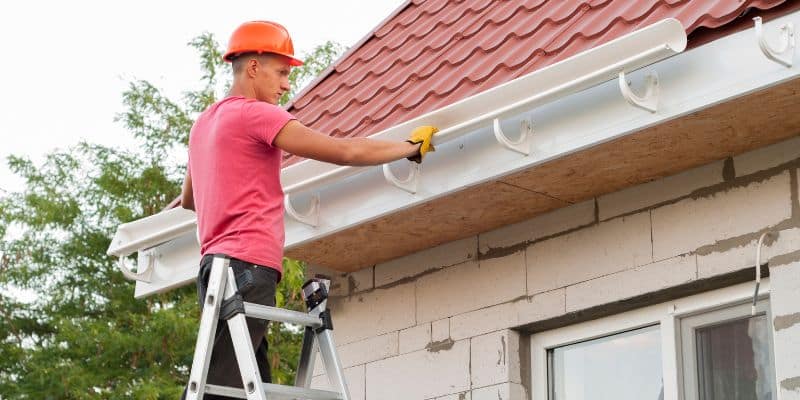
If you want to protect your home from rainwater damage, it’s important to install gutters. Gutters collect rainwater from the roof and direct it away from your house, preventing erosion, foundation issues, and basement flooding. While hiring professionals is an option, you can significantly reduce the cost by installing gutters yourself. This step-by-step DIY guide will walk you through the process of installing gutters, ensuring that you have the proper slope and that your gutter system works efficiently to protect your home.
By following these detailed instructions, you can successfully install gutters yourself and improve your home’s drainage system.
Step 1: Measure and Plan

IMG Source:GRC Contractor
The first and most important step in gutter installation is measuring the roofline where the gutters will be attached. Using a tape measure, calculate the length of the roof edge, which will tell you how much gutter material you need to purchase. Additionally, measure the height where the downspouts will be placed to calculate the length of the downspouts.
While you measure, you’ll also want to plan the proper slope for the gutters. To ensure water flows correctly, gutters need to slope toward the downspouts at a rate of about 1/4 inch for every 10 feet. Incorrect slopes can cause water to pool in the gutters instead of draining, leading to rust, clogs, and overflow. For large homes, consider installing more than one downspout for better water flow.
Before making any cuts or purchases, sketch a diagram of your gutter installation plan. This will help you decide where the downspouts should go and whether any adjustments need to be made to account for roof edges or corners.
Step 2: Gather Your Tools and Materials

IMG Source:SPECTRA Gutter System
Once you have a clear plan, it’s time to gather the necessary materials. Here’s a list of items you’ll need for gutter installation:
- Gutters (aluminium or vinyl)
- Downspouts and elbows
- Fascia brackets (for attaching the gutters to the roof fascia)
- End caps
- A gutter sealant or silicone caulk
- Screws and nails
- A drill and screwdriver
- A saw or tin snips (for cutting gutters)
- A tape measure and level
Having all your materials ready will make the installation process smoother. Make sure to wear appropriate safety gear, like gloves and safety glasses, since you’ll be working with sharp materials and heights.
Step 3: Attach the Fascia Brackets

The next step is attaching the brackets that will hold the gutters in place. These brackets are attached to the fascia boards, which run along the edge of the roof. Using your pre-planned slope measurements, mark where each bracket should go along the fascia. It’s recommended to space the brackets about 24 to 36 inches apart to ensure the gutters are well-supported.
Screw the brackets into place using a drill. Make sure they are securely attached, as they will bear the weight of the gutters and the water they collect during heavy rainfall.
Step 4: Cut the Gutters to Fit

Now it’s time to prepare the gutters by cutting them to the correct length. If you’re using metal gutters, a hacksaw will work well for cutting through them. For vinyl or PVC gutters, use heavy-duty snips or a fine-tooth saw for clean cuts.
Carefully measure each section before cutting. Gutters that are too short will leave gaps, while those that are too long may need extra trimming. Once cut, make sure the edges are smooth to avoid injury or water buildup.
Step 5: Attach End Caps to the Gutters

Once the gutters are cut to size, the next step is to install the end caps. These are placed on the ends of each gutter section to prevent water from spilling out. Attach the end caps securely using a gutter sealant or silicone caulk. Apply the sealant generously to ensure a watertight fit.
While attaching the end caps, it’s also a good idea to check that the joints between gutter sections are sealed properly. Use the same silicone sealant at these joints to prevent leaks.
Step 6: Install the Gutters

Once the end caps are in place, it’s time to start hanging the gutters. Start by attaching one end of the gutter into the first bracket. Once that’s secure, carefully line up the rest of the gutter along the brackets and attach it as you go.
Be mindful of the slope you measured earlier, ensuring that the gutters are slanted slightly toward the downspout to allow proper drainage. Use a level to ensure accuracy, and adjust as needed by tightening or loosening the brackets.
Step 7: Cut and Install Downspouts

Your downspouts are the pipes that carry water from the gutters down to the ground. Cut the downspouts to the correct length, making sure they extend far enough away from the foundation of your home (usually at least 3 feet).
At the lower end of your gutter, cut a hole for the downspout outlet. This is where the water will flow from the gutter into the downspout. Attach elbows and spouts to guide the water down and away from your home. Secure the downspouts with screws and brackets.
Step 8: Secure the Gutters

Now that the gutters and downspouts are in place, it’s time to secure the entire system. Double-check that all brackets are tight and that the gutters are firmly attached to the fascia. Ensure that the downspouts are securely fastened to the side of your home.
If your home is in a windy area, consider adding extra fasteners or straps to ensure the gutters stay in place during storms.
Step 9: Test the System

Finally, test your new gutter system to make sure everything works correctly. Using a garden hose, pour water into the gutters and watch to see if it flows smoothly toward the downspouts. Look for any signs of leakage or sagging. If water is pooling, the slope may need to be adjusted.
Check that the water flows out of the downspouts and is directed away from the home’s foundation. Adjust the angle of the downspouts if necessary to prevent water from accumulating near the base of the house.
Conclusion
Installing gutters on your own can be a rewarding do-it-yourself project that saves you both time and money. With a little planning, the right tools, and attention to detail, you can successfully complete this task in just a few hours. By following this comprehensive 9-step guide, you will ensure that your home stays protected from water damage for years to come.
From the above, you can see how vital precise measurements, expert cutting, and secure fittings are when installing roof gutters. At American Hill Country Gutters, we handle each step with precision and care, finishing with a thorough final check to ensure your home is fully protected from water damage.


